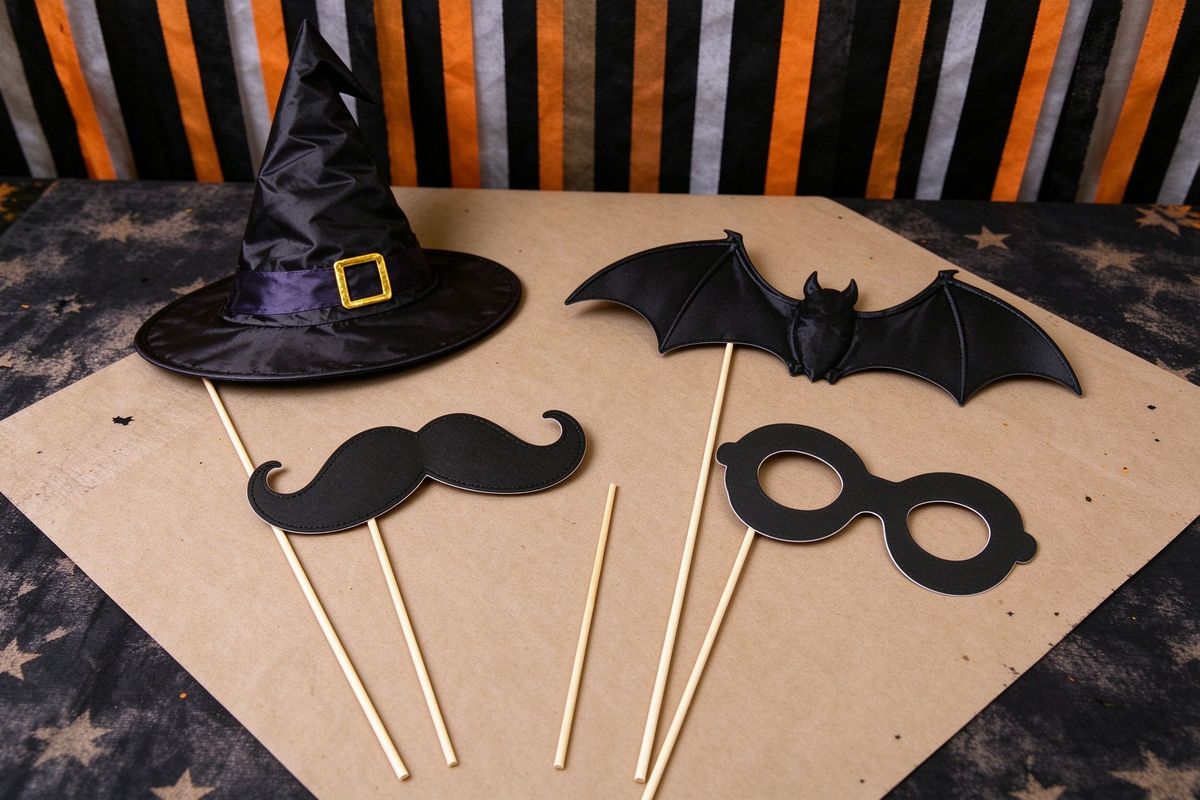
A Halloween party without a photo booth is a party where the best moments disappear. With a photo corner, every guest leaves with a silly picture — and your party gets shared across every social feed the next morning. The best part: a professional-looking booth costs almost nothing when you print the pieces. This guide covers backdrops, props, lighting and the printable tools that make it all.
1. The backdrop: 90% of the effect
The backdrop does more work than anything else in the booth. You need something that reads as "Halloween" behind every face:
- The $10 option: a black or dark purple sheet hung on a wall. Photographs beautifully, hides wrinkles if you clip it at the top.
- The $0 option: a clear wall or doorway with a string of orange or purple fairy lights behind it. Bokeh lights make every photo look intentional.
- The printable option: print large bat and moon silhouettes (any of our icons scaled up, or the poster generator at poster size) and tape them to the sheet. From 1.5 meters away they look painted on.
- The bunting combo: hang a bunting banner with the party theme across the top of the backdrop. See our bunting guide.
2. Props: the printables that make people pose
Props are the reason adults get in front of the camera. The classic set, all from our prop maker:
- Stick props: witch hats, bats, mustaches, glasses, fangs — printed, cut, taped to straws or skewers. This is the core set; make 10–15.
- Frame props: print a large empty frame and cut out the center; guests "step into" the frame. One prop, endless photos.
- Speech bubbles: "I'm with spooky," "Best costume," "Eek!" — blank bubbles let guests write their own captions with a marker.
- Mask props: print masks on cardstock, punch eye holes, attach elastic. Cats and skulls work best.
Pro tip: print props on cardstock (they survive all night), and put a small cup of tape and extra straws near the booth for repairs.
3. The prop maker workflow
- Open the prop maker.
- Choose the icons you want (witch hat, bat, ghost, spider, fangs, glasses, bow, crown...).
- Pick a color theme or custom colors — coordinate with your party palette (see palette guide).
- Set prop size (medium is right for stick props, large for masks and frames).
- Print the whole sheet — the maker lays out a grid of props per page, ready to cut.
4. Lighting: the difference between "nice" and "professional"
- Face light: the #1 rule — light the faces, not the backdrop. A lamp or ring light at camera height, slightly in front of guests.
- No overhead glare: avoid a bare ceiling light straight above; it makes everyone look like a raccoon.
- Two-point setup: a warm light from the front-left and a cool or colored light from behind creates that moody party look.
- Fairy lights: string them around the booth frame — they show up beautifully in photos as bokeh.
- Test before guests arrive: take three test shots: one guest-height, one group, one kid. Adjust until they look good.
5. Making it easy for guests
- Obvious signage: a printable "PHOTO BOOTH — strike a pose!" sign (use the sign maker or any maker with text) placed at eye level.
- Phone-friendly: most guests will shoot on their phones. A small sign with the party hashtag ("#SmithHalloween2026") gets your photos collected on Instagram.
- The camera stand: a phone tripod on a small table, angled at the booth, lets groups self-shoot. Add a printable "tap to start" card.
- Prop bucket: a cauldron or bucket full of props right next to the booth, so people grab and pose without thinking.
6. For events and small businesses
If you're running a school fete, trunk-or-treat or a paid photo station:
- Print double sets of props — the first set will be bent within an hour.
- Laminate the signs; they'll survive the night.
- Add a printable sponsor or event logo strip along the bottom of the backdrop (the poster generator handles this cleanly).
- Set up two booths if you expect more than 40 guests — one line is a party-killer.
- Charge a donation: a small "pay what you want" jar by the booth is a painless fundraiser — and the printed sign telling people where the money goes doubles participation.
For pet-friendly events, print a small set of pet props (bat wings and a witch hat scaled for a dog's head) — pet photos are the most-shared content of any party, and a prop set for pets costs exactly one extra page of cardstock.
7. The printable checklist
| Item | Tool |
|---|---|
| Stick props, masks, frames | Prop maker |
| Backdrop silhouettes | Icon library |
| Theme banner | Bunting maker |
| Booth sign / hashtag card | Sign maker |
| Event strip | Poster generator |
A photo booth is the highest-ROI decoration on this entire site: one sheet of cardstock becomes an hour of guest entertainment and a month of shared photos. Print your props today, hang a sheet, and light the faces. Then finish the room with our printable decor guide.