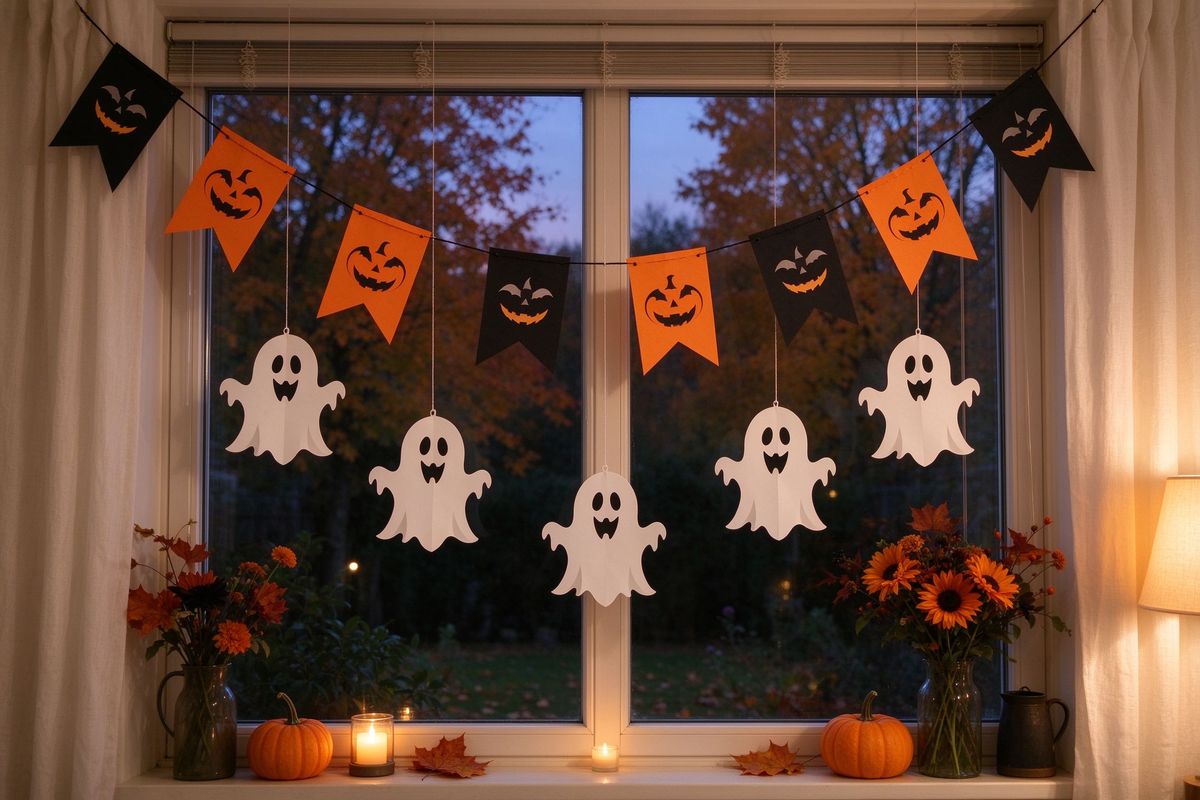
You don't need a craft room, a budget, or a talent for scissors to have a spectacularly decorated house in October. You need a printer, some paper, and a few good templates. Here are 30 print-and-cut Halloween decoration ideas, grouped by where they live in your home — and most of them take under ten minutes each.
Every printable mentioned here is free and generated in your browser. Start with the decoration maker for signs and hangers, and the bunting banner maker for garlands.
1. The front door (first impressions)
- Door hanger: Print a "Welcome, Frightened Friends" or "Boo!" hanger and slip it over the door handle. Cardstock + the hole guide = done.
- Wreath topper: Print a large bat or spider, cut it out, and tape it to the center of a plain wreath. Instant upgrade.
- Porch sign: A "Trick or Treat" sign (see the sign maker) tells visitors everything they need to know. Slide it into a sheet protector for weatherproofing.
- Window clings: Print silhouettes on transparency film — bats, cats and moons — and tape them to the inside of the door glass. They look painted on.
- Banner across the top: String a bunting banner with "BOO" or "WELCOME" above the door.
2. Windows (the spooky glow trick)
- Black paper silhouettes: Print bat and cat silhouettes, cut, and tape to the window with the room lights on. From the street, they read as dark shapes against a lit window.
- Tealight ghosts: Print small ghost shapes, tape a battery tealight behind each one, and line them along the windowsill.
- Window clings (film): The same transparency-film trick as the door — spiders and webs in the corners look especially good.
- Moon and stars: One big crescent moon plus scattered stars across the glass makes a calm, elegant window scene.
3. The living room and mantel
- Bunting garland: The classic. Print flags with letters or icons, punch the holes, string with ribbon. Hang across the mantel or along a wall.
- Table tent cards: Place card-style tents with "Candy," "Treats," "Cauldron" label your party stations.
- Book marks for the bookshelf: Tuck bookmarks into a row of books for a subtle, clever detail.
- Framed prints: Print any of our designs, put it in a cheap frame, and swap your normal art for Halloween art for the month.
- Lantern labels: Wrap printed labels around glass jars, pop a tealight inside, and line the mantel.
- Ghost string: Print several ghosts, cut, and hang them at different heights from a branch or a curtain rod.
4. The party table
- Cupcake toppers: Our topper maker prints a whole sheet; cut circles, tape to toothpicks, plant in cupcakes.
- Place cards: Fancy dinner? Print place cards with guest names and fold them into tents.
- Food labels: "Witch's Brew," "Bat Wings," "Mummy Fingers" — label every dish with the label maker.
- Gift tags for favors: Treat bags get gift tags saying "Thanks for coming!"
- Napkin rings: Print small tags with a hole, wrap around folded napkins, push a ribbon through.
- Badge favors: Print badges and pin one on each guest — instant party uniform.
5. Kids' rooms and play areas
- Coloring wall: Tape coloring pages to the wall or fridge and let the kids decorate the house themselves.
- Door signs: "Spooky Room — Enter If You Dare" door hanger for the kids' bedroom door.
- Bookmarks: Printable bookmarks make reading month special — laminate for durability.
- Sticker sheets: Print sticker sheets on sticker paper; kids decorate notebooks, water bottles, everything.
- Countdown calendar: The October countdown hangs in the kitchen — one spooky activity a day.
6. Photo corner
- Photo booth props: Print the prop maker, tape to straws, and set up a photo corner. See our full photo booth guide.
- Frame-and-print backdrop: A black sheet plus printed bats taped to it makes a studio-grade backdrop for free.
7. Beyond the basics: make it cohesive
The difference between "cute house with Halloween stuff" and "wow, they decorated" is one palette. Pick 2–3 colors (see our palette guide), and make every printable match. Our decoration maker has built-in themes — classic orange, gothic purple, toxic green, candy pink — so every sign and hanger you print coordinates automatically.
8. Paper and printing tips
- Cardstock (110–300 gsm) for anything that stands or hangs: signs, hangers, bunting, toppers.
- Plain copy paper for anything that gets cut and taped: silhouettes, window clings (use transparency film instead for real cling).
- Sticker paper for labels and sticker sheets.
- Print at 100% scale — never "fit to page," or your hole guides and sizes will be off.
- Laminate or sheet-protect anything that lives outside or near food.
Start with the decoration maker and the bunting maker — those two alone cover half of this list. Then work through the rest one evening at a time. Your house will be the one the neighbors talk about.