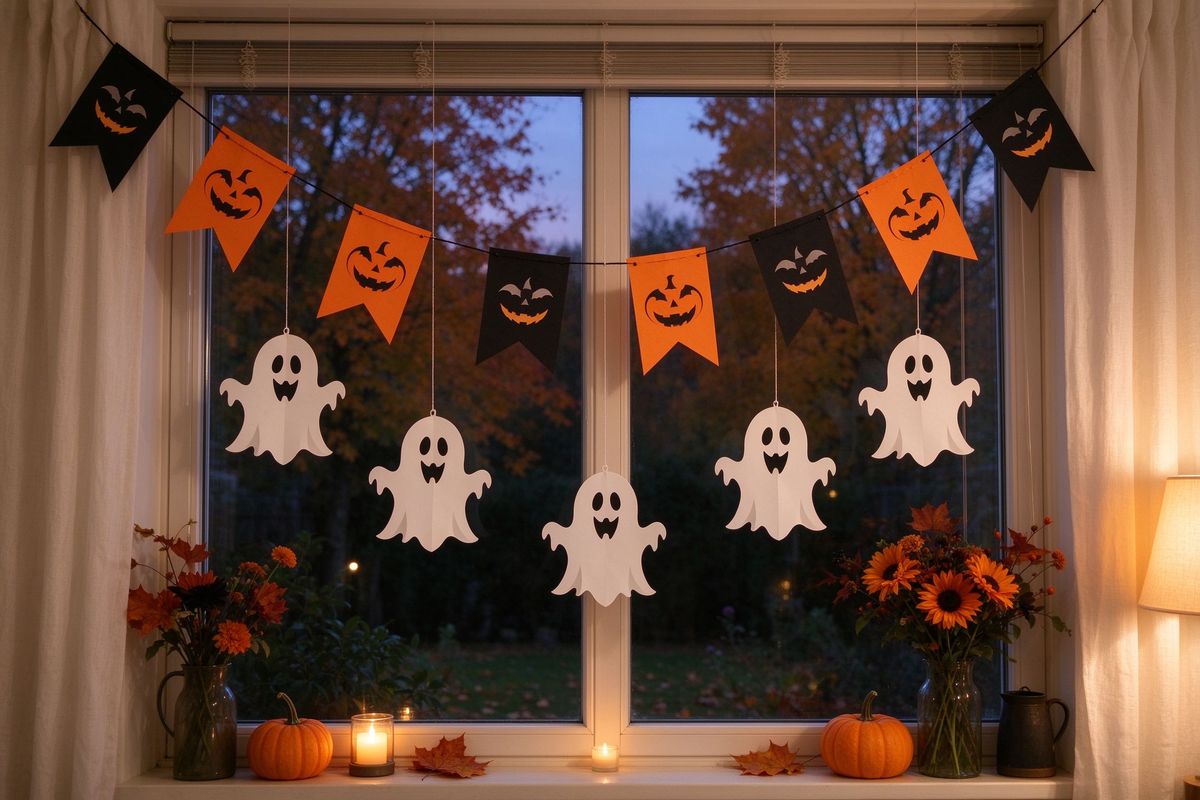
A bunting banner is the fastest, highest-impact Halloween decoration there is. Ten minutes, a printer, some scissors and a length of ribbon — and you've transformed a bare wall, mantel or doorway. This guide shows you exactly how, and the bunting maker does the design work for you.
1. What you'll need
- A printer and paper — cardstock (110–250 gsm) makes banners that hang straight and last all month.
- Scissors (or a paper cutter).
- A hole punch (or the point of a pencil).
- Ribbon, twine, or yarn — about 1 meter per meter of banner.
- Optional: washi tape or binder clips for hanging.
2. The five-minute design step
Open the bunting banner maker and make three quick decisions:
- Message. "BOO" is the classic (one letter per flag, punchy). "HAPPY HALLOWEEN" works with two letters per flag. Single words like "WELCOME," "TRICK OR TREAT" and "EAT" (for the food table) are favorites.
- Style. Lettered flags, icon flags (pumpkins, bats, ghosts), or a mix. Icons-only banners are perfect for young kids who can't read yet — or for places where you want decoration without words.
- Colors. Pick one of the built-in themes (classic orange, gothic purple, toxic green, candy pink, harvest) or set your own two colors. Match your party palette — see our palette guide for ideas.
Hit print. The maker lays out flags on a sheet (typically 2–4 flags per page depending on size) and includes the fold line and the two punch dots on every flag.
3. Cut, punch, string — ten minutes
- Cut along the outline. Follow the printed flag outline; most designs are a pennant (triangle with a folded top edge) or a scalloped flag.
- Fold the top tab. The printed fold line at the top lets the flag wrap around the ribbon. Fold it over toward the back.
- Punch the dots. There are two punch guides on each flag. Punch through both layers of the folded tab.
- Thread the ribbon. Push the ribbon through both holes, front to back, on each flag. Slide flags along to space them evenly (a hand-width apart looks good).
- Optional glue: a dot of glue inside the folded tab keeps flags from sliding.
- Hang. Tape, tie or clip the ends. Done.
4. Where banners shine
- Across a doorway — the classic spot. Eye-level, instantly read.
- Mantel — a "BOO" banner above the fireplace is the photo everyone takes.
- Kitchen table backdrop — hang behind the food table; "EAT" or "YUM" banners make guests smile.
- Porch railing — weatherproof by laminating or using sheet protectors; "TRICK OR TREAT" greets visitors.
- Classroom door — teachers, this is the 15-minute door decoration that looks like an hour. See classroom ideas for more.
- Photo booth backdrop — a banner reading the party theme over the photo corner. See our photo booth guide.
- Staircase bannister — a long banner wound along the rail makes a two-story house feel fully decorated.
- Kids' room — a personalized banner ("JACK'S ROOM") turns a bedroom door into a statement.
5. Pro tips that make it look expensive
- Double it up: two parallel strands (one lettered, one icon-only) read as a "design" instead of a craft.
- Vary the length: cut the ribbon longer at the edges so the banner drapes slightly instead of hanging taut.
- Layer with lights: a string of warm fairy lights threaded behind the flags makes the whole banner glow at night.
- Match the icons to the theme: bat flags for a haunted house party, candy flags for a kids' party, elegant gothic letters for an adult event.
- Print two sizes: one big banner for the main spot, a mini version (scale 60–70%) for the table or the door.
- Reuse across years: cardstock banners stored flat in a folder survive for years. Make the banner once in the theme you'll want again.
6. Troubleshooting
- Flags too small/large? The maker's size selector changes flag dimensions on the page — print a test sheet at the small size first and hold it up at the planned spot.
- Ribbon showing through? Use double-sided flags (fold a second flag over the back) or a wider ribbon.
- Banner drooping in the middle? Add a third anchor point at the center with a pin or small nail.
- Outside and rainy? Laminate, or print on a water-resistant paper, and bring it in when not in use.
7. Beyond the classic pennant
Don't stop at pennants. The same maker produces:
- Round banners — circle flags with icons (moon, bat, spider) for a modern look.
- Scalloped banners — the classic "party" shape, great for kids' events.
- Countdown bunting — one flag per day from 1 to 31 for an October countdown chain (see our countdown calendar for the calendar version).
That's the whole craft: design, print, cut, punch, string. In the time it takes to read this guide, you can hang a banner. Open the bunting maker, pick a message, and make your first strand tonight — then add the rest of the printable decor over the weekend.