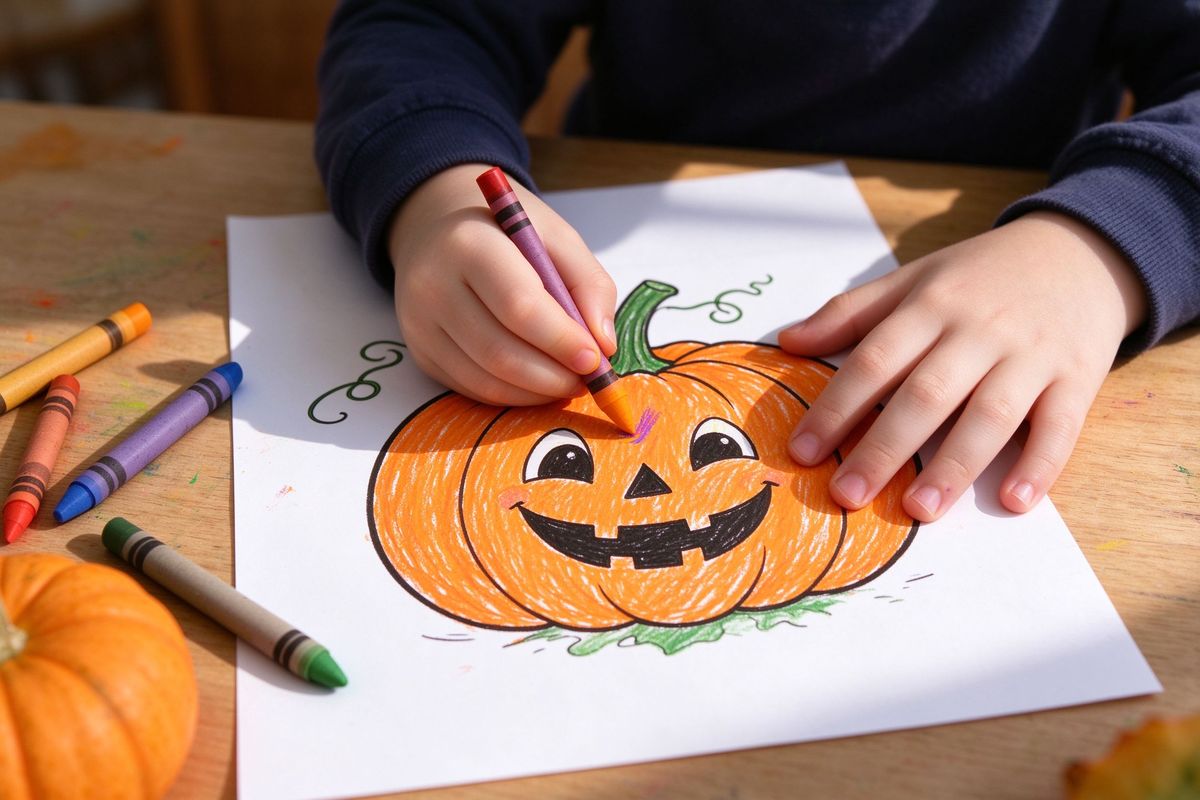
Halloween is the one time of year when crafting with kids feels effortless — the theme is exciting, the materials are cheap, and the mess is somehow charming. These seven printable crafts are proven with real families: they take under thirty minutes each, use supplies you already own, and every one ends with something the kid is proud to show off.
1. Coloring Book Corner (age 2+)
The gateway craft. Print a stack from our coloring page generator — see the full list of 12 designs in our coloring guide — and let kids color. The craft upgrade: staple 5–6 colored pages into a booklet with a construction-paper cover ("MY HALLOWEEN BOOK"). Kids as young as two can "help" with the stapling, and the finished book is a keepsake.
2. Stick Puppet Parade (age 3+)
Color a coloring page (ghost, pumpkin or bat), cut it out, and tape it to a popsicle stick or a straw. Now you have puppets — and an instant show. Extend it: make three puppets and act out a story. It's theater, art and reading practice in one.
3. Bunting for Their Room (age 4+)
Let kids design their own bunting banner — their name, or "BOO," or just icons. They choose the colors, you help with the punch, and the banner hangs over their bed or door. It's their first interior-design project, and they'll point at it for weeks. Full instructions in our bunting guide.
4. Sticker Bombing (age 4+)
Print sticker sheets on sticker paper and let kids decorate: water bottles, notebooks, lunch boxes, the fridge (okay, maybe not the fridge). Stickers are the highest-satisfaction craft per minute of effort — cut them out together, and the sheet becomes a reward system too ("earn a sticker for tidying up").
5. Bookmark Factory (age 5+)
The bookmark maker prints bookmark-shaped designs with a punch guide for the tassel hole. Kids color, cut, punch, and thread a ribbon. Laminate with clear tape for durability. This one quietly promotes reading all month — a craft and a habit.
6. Mask Making (age 6+)
Print a mask design from the prop maker at large size, cut the eye holes, punch the sides, and attach elastic. Cat, skull and bat masks are the favorites. Pro tip: let kids decorate the mask with markers and stickers after cutting — personalizing the mask is half the fun. Pairs perfectly with our photo booth guide.
7. The Family Decoration Night (age 6+)
The grand finale: one evening, the whole family makes the house's decor. Everyone gets a job:
- Signs: older kids (or adults) type the message into the decoration maker and the sign maker.
- Bunting: one person designs, one cuts, one strings.
- Labels: kids type and print labels for the candy bowls.
- Coloring: the youngest colors pages to tape on the fridge.
Everything coordinates (same themes), everything is theirs, and the house looks decorated for free. See the full 30-idea decor guide for what to make.
Managing the mess (without killing the fun)
Craft fear is mostly mess fear. Solve it in advance and you can relax into the activity:
- Cover first: a plastic tablecloth or an old sheet over the table catches glue, marker and glitter. Cheap, disposable, and cleanup is "roll it up and shake it outside."
- One tray per kid: a baking sheet or tray defines each child's workspace, keeps supplies from migrating, and gives a natural "done" boundary.
- Washable only: use washable markers and glue sticks for under-8s. Everything that touches skin or clothes survives the laundry.
- Apron or old shirt: a grown-up shirt worn backwards is the classic craft armor.
- End with a rinse: finish every session by washing hands together — it's a natural closing ritual that prevents the glitter-trail-through-the-house problem.
A calm end to the craft is as important as the craft itself. When kids know the routine (craft, then wash, then display), they settle faster and want to do it again next weekend.
Displaying the masterpieces
Kids craft for the display, not the activity. Make the display part of the routine:
- The fridge gallery: magnets and colored pages — the classic for a reason.
- Clothesline gallery: a string across a wall with mini clothespins; swap pieces weekly.
- The keepsake box: one box per kid; the month's best pieces go in on November 1.
What you'll need (the whole list)
| Supply | Used for |
|---|---|
| Printer + paper (plain & cardstock) | Everything |
| Crayons / markers / colored pencils | Coloring and decorating |
| Scissors (kid-safe) | Cutting |
| Glue stick / tape | Assembling |
| Popsicle sticks or straws | Puppets, props |
| Ribbon or yarn | Banners, bookmarks, masks |
| Hole punch | Banners, bookmarks |
| Sticker paper (optional) | Sticker sheets |
| Stapler | Books, bunting |
Making it a month, not a day
Don't do all seven in one afternoon. Spread them out — one craft per weekend keeps October feeling special without burning anyone out:
- Weekend 1: coloring books + stick puppets.
- Weekend 2: bunting + bookmarks.
- Weekend 3: stickers + masks.
- Weekend 4 (before the 31st): family decoration night.
Every printable is free and unlimited, so nothing stops you from printing a second sheet when the first one gets loved to pieces. Start with the coloring pages — they're the easiest entry point — and let the kids decide what's next.