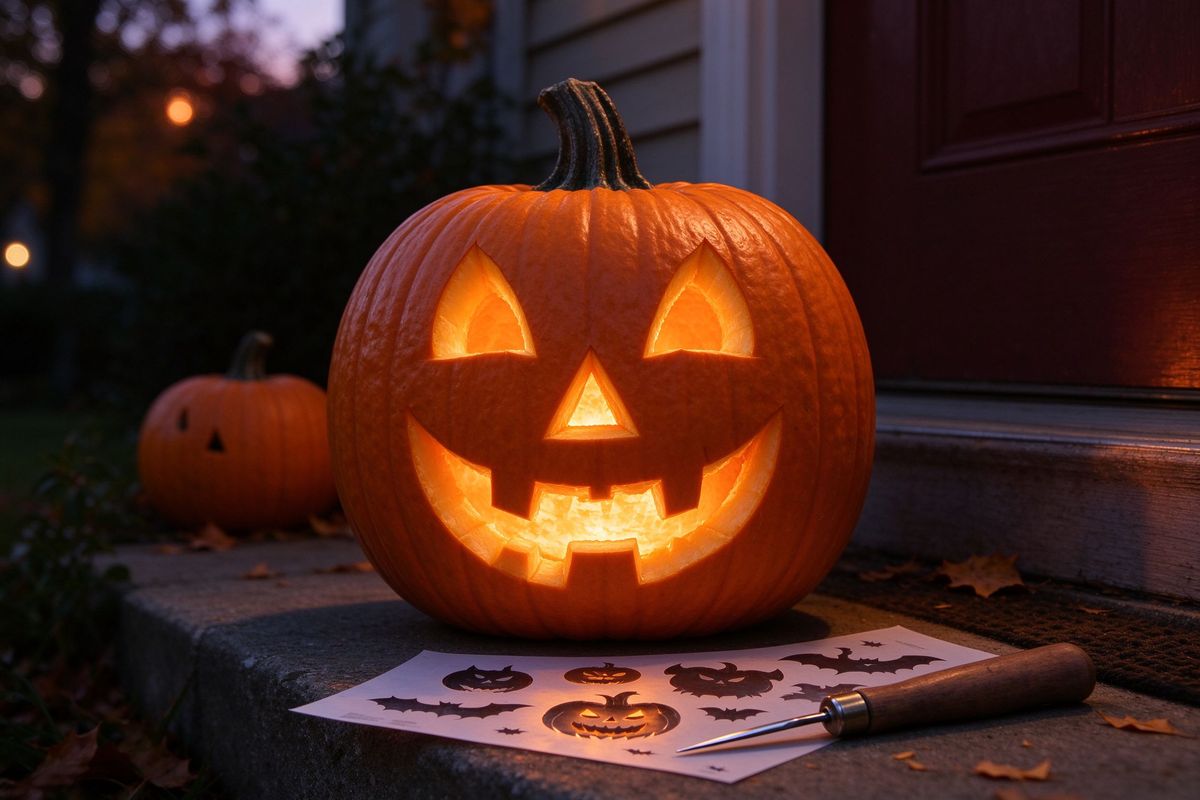
Every October, millions of pumpkins get carved — and every year, the same three things ruin the fun: a pattern that doesn't fit, a knife that slips, and a design that looked easy online but takes three hours. The good news? With the right pumpkin, the right stencil, and a few pro techniques, you can carve a jack-o'-lantern that looks like it belongs on a magazine cover — in about forty minutes.
This guide covers everything: choosing the perfect pumpkin, transferring a stencil cleanly, cutting like a pro, and keeping your masterpiece glowing all week. And when you're ready, use our free pumpkin carving stencil generator to create a pattern that fits your pumpkin — not one that was designed for someone else's.
1. Choose the right pumpkin
The pumpkin you pick matters more than the pattern you pick. Here's what to look for:
- Shape: Round pumpkins suit faces and cute designs. Tall, oval pumpkins are better for silhouettes like cats, bats and haunted houses, because the design has more vertical room.
- Skin: Choose a pumpkin with smooth, blemish-free skin. Scars and warts are charming in the patch but make stencil transfer and carving harder.
- Flat spots: Look for a pumpkin that sits flat and doesn't roll. A stable pumpkin is a safe pumpkin — you'll be pushing a knife into it.
- Firmness: A firm stem means a fresh pumpkin. A soft or moldy stem means it will collapse within days. Give the pumpkin a gentle squeeze; it should feel solid all over.
- Size: Match the pumpkin to the pattern. Our stencil generator lets you scale any design from 50% to 160%, so it will fit a small pie pumpkin or a giant Atlantic Giant.
2. Prepare like a pro
Before you cut a single line, spend five minutes setting up:
- Tools: A serrated pumpkin saw (the cheap kits with the tiny saws are genuinely great), a large metal spoon, a sturdy ice-cream scooper, a pin or needle, and a marker. A clean, dry workspace.
- Clean out the pumpkin: Cut a hole in the bottom rather than the top. Cutting the bottom lets you drop the pumpkin straight down over an LED candle — no reaching inside, no burnt fingers, and no lid to lose. If you prefer the classic top lid, cut it at an angle so it doesn't fall in.
- Scrape the wall: Scrape the inside wall where the face will be until it's about 2–3 cm (1 inch) thick. Thinner walls are easier to cut and let more light through.
3. Transfer the stencil — the trick that makes the difference
This is where most carvers go wrong. Taping a paper pattern to a curved pumpkin and tracing it with a pen is frustrating, and the result is usually smudged and lopsided. Here's the reliable method:
- Print your stencil at the right size. In our generator, hold a measuring tape across the widest part of your pumpkin, then set the scale slider until the pattern width matches. Print at 100% — don't let your printer scale it down.
- Tape the stencil flat against the pumpkin. Use three or four pieces of painter's tape. Press the paper tight — wrinkles in the paper create wonky lines.
- Trace with a pin. Take a pin or a needle and poke small holes along every cut line, about 1 cm apart. Go through the paper and into the skin — you only need to break the surface, not dig in.
- Remove the paper and connect the dots. You'll see a dotted outline. With a marker, connect the dots so the design is clearly visible. Rub a little chalk or flour over the paper instead if you prefer a no-marker method.
If you're carving with kids, skip the pin tracing: let them draw directly on the pumpkin with a washable marker — the mistakes become part of the charm.
4. Cutting techniques that keep your fingers safe
- Always cut with a sawing motion. Push the serrated knife in with a gentle back-and-forth motion — never force it straight in. Let the teeth do the work.
- Cut at a 45° angle. Angle the blade so the inside of the cut is smaller than the outside. This creates a ledge that keeps the piece from falling into the pumpkin.
- Cut large shapes as separate pieces. For a mouth with teeth, cut each tooth as an individual piece rather than trying to carve one continuous jagged line.
- Score fine details instead of cutting. For whiskers, eyebrows and intricate patterns, use a pin to score the line without cutting through. The scored line shows up beautifully when lit.
- Push pieces out from the inside. After cutting, push each piece out toward the inside of the pumpkin — it's easier and you won't smear the skin.
5. Patterns by skill level
| Skill level | Best patterns | Time |
|---|---|---|
| Easy (kids 5+) | Classic face, Happy Pumpkin, Crescent Moon, Candy Corn | 15–30 min |
| Medium | Black Cat, Scary Grin, Spider, Friendly Ghost | 30–60 min |
| Expert | Skull, Haunted House, Witch Hat, Spider Web, Skeleton | 60–120 min |
Use the difficulty filter in the stencil generator to browse patterns that match your skill — or your patience.
6. Lighting and preservation
- Use LED candles, always. Real flames dry out the pumpkin from the inside, are a fire risk around costumes, and can singe little fingers. Modern LED candles flicker convincingly.
- Give it a bath. After carving, spray the cut edges with water or a 1:9 bleach-and-water mix. This slows mold and keeps the edges crisp.
- Seal the cuts. A thin layer of petroleum jelly on the cut edges locks in moisture. Reapply every two days.
- Cool storage. On warm days, bring the pumpkin inside or into shade. Cold slows decay — a fridge works for small pumpkins overnight.
7. Beyond the classic face
Once you've mastered the basics, try silhouettes. Instead of carving a face, carve the entire shape of a cat, bat or haunted house as one big hole — the light floods through the silhouette and creates a dramatic scene on your porch. These designs look hard but are actually easier than detailed faces because you're cutting one large area instead of many small ones.
Ready to carve? Open the pumpkin carving stencil generator, filter by difficulty and theme, and print your pattern. Then read our 30 printable decoration ideas to finish the porch.