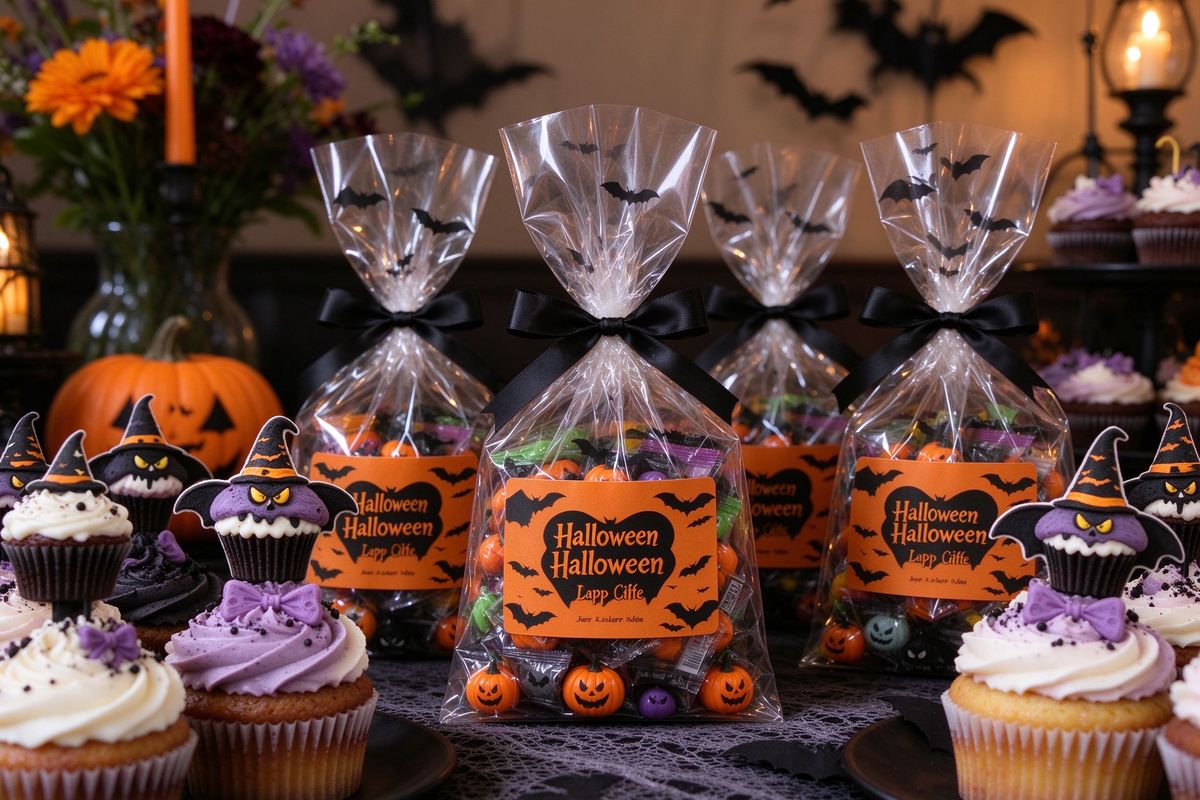
Nobody remembers a plain bowl of candy. But everyone remembers the dessert table with "Witch's Brew," "Mummy Fingers" and "Bat Wings" — and the cupcakes wearing little jack-o'-lantern toppers. The secret isn't cooking; it's labeling. This guide gives you spooky snack ideas plus the printable labels, tags and toppers that make the whole table look professionally styled.
1. The dessert table makeover
Before you bake a single cupcake, plan the table as a scene:
- One dark tablecloth (black or deep purple) makes every colored label pop.
- Height variation: cake stands, books and boxes at different heights break the flat-line look.
- Label everything. A labeled table reads as "curated"; an unlabeled one reads as "pile of snacks." This is the single biggest upgrade.
- Match the theme: one palette across labels and toppers (see our palette guide) makes the table look designed, not decorated.
2. Spooky names for normal snacks
| The snack | The spooky name |
|---|---|
| Guacamole | Witch's Brew |
| Hot dogs in pastry | Mummy Fingers |
| Chicken wings | Bat Wings |
| Orange soda punch | Potion of Panic |
| Pretzel sticks | Broomsticks |
| Cheese puffs | Goblin Guts |
| Trail mix | Grave Dirt Crunch |
| Jelly beans | Bats' Teeth |
| Marshmallows | Ghost Poop |
| Chocolate-covered raisins | Bat Droppings |
| Popcorn | Witch's Hair |
| Apples with caramel | Poison Apples |
Print each name with the label maker and prop the card next to the dish — the maker gives you the perfect tent-card size.
3. Cupcake toppers in three minutes
Toppers are the highest-impact-per-minute printable on this site:
- Open the topper maker.
- Choose icons (pumpkin, bat, ghost, witch hat) or a message ("BOO!").
- Pick your theme colors to match the party palette.
- Print — the maker lays out a full sheet of toppers (about 2 cm circles).
- Cut, tape to toothpicks or mini straws, plant in cupcakes.
Pro tip: make the toppers match the gift tags on the favor bags — same icons, same colors. The table and the favors become one design.
4. Food labels that work hard
The label maker does more than tent cards:
- Tent cards for the dish names above — fold and stand.
- Ingredient cards: a small card next to each dish listing common allergens ("Contains nuts"). Every allergy-aware parent will silently thank you.
- Direction signs: "Take one," "Scoop here," "Wash hands first."
- Drink labels: wrap a label around each drink dispenser — "Potion," "Elixir," "Swamp Water."
5. The candy station
A candy table is a table of decisions unless you label it:
- One bowl per candy type, each with a label ("Sour Skulls," "Chocolate Bats").
- A "Take 2" sign (or "Take 3 if you're wearing a costume").
- A scoop per bowl — not hands. It's cheaper and kinder.
- A printable "no nuts in this bowl" note for allergy families.
6. Favor bags: the finishing touch
Fill a small paper bag with a few treats and a sticker (see sticker sheets), fold the top, and punch a hole for the gift tag ribbon. "Thanks for coming!" tags turn a bag of candy into a favor. This is also the easiest goodbye gift: guests leave with something, and you look thoughtful for zero effort.
9. Print, cut, style: the ten-minute workflow
Here's the exact routine that turns a plain table into a styled one, from printer to party:
- Pick the palette first — one theme across every label and topper (see our palette guide). The table suddenly looks coordinated without any extra work.
- Print everything in one session: one sheet of toppers, one sheet of food labels, one sheet of gift tags. It takes five minutes and one mindset.
- Cut in a production line: toppers first (they're circles — quick with scissors), then labels, then tags. Ten minutes of cutting for a whole party's worth.
- Set the table with labels as the guide: put each tent card where the dish will go; the cards become your plating map.
- Keep the spares: an extra sheet of toppers in a zip bag rescues the party when a tray gets dropped or the cupcakes get eaten twice as fast as planned.
Everything here prints on plain paper except the tags, which deserve cardstock. And because every tool is free and unlimited, "I ran out" is never a reason to stop styling.
8. Beyond the party: snack labels for every day
Labels aren't just for parties:
- School lunches: print "Eat me first" notes, or a lunch-bag label with a joke.
- Office treats: label the office candy bowl — morale improves 30% with a "Brain Fuel — no take-backs" card.
- Neighbor gifts: a bag of candy corn with a "Witch's Teeth" label is a gift, not a handout.
- Classroom treats: see our classroom guide for the allergy-safe angle.
8. The printable shopping list
| Item | Tool |
|---|---|
| Food tent cards | Label maker |
| Cupcake toppers | Topper maker |
| Favor tags | Gift tag maker |
| Stickers for bags | Sticker sheet maker |
| Table signs | Sign maker |
| Place cards for a sit-down dinner | Place card maker |
Here's your ten-minute plan: print one sheet of cupcake toppers, one sheet of food labels, and one sheet of favor tags. Cut while the oven warms. By the time the cupcakes are cool, the table is styled. Then check our party planning guide for the rest of the night.