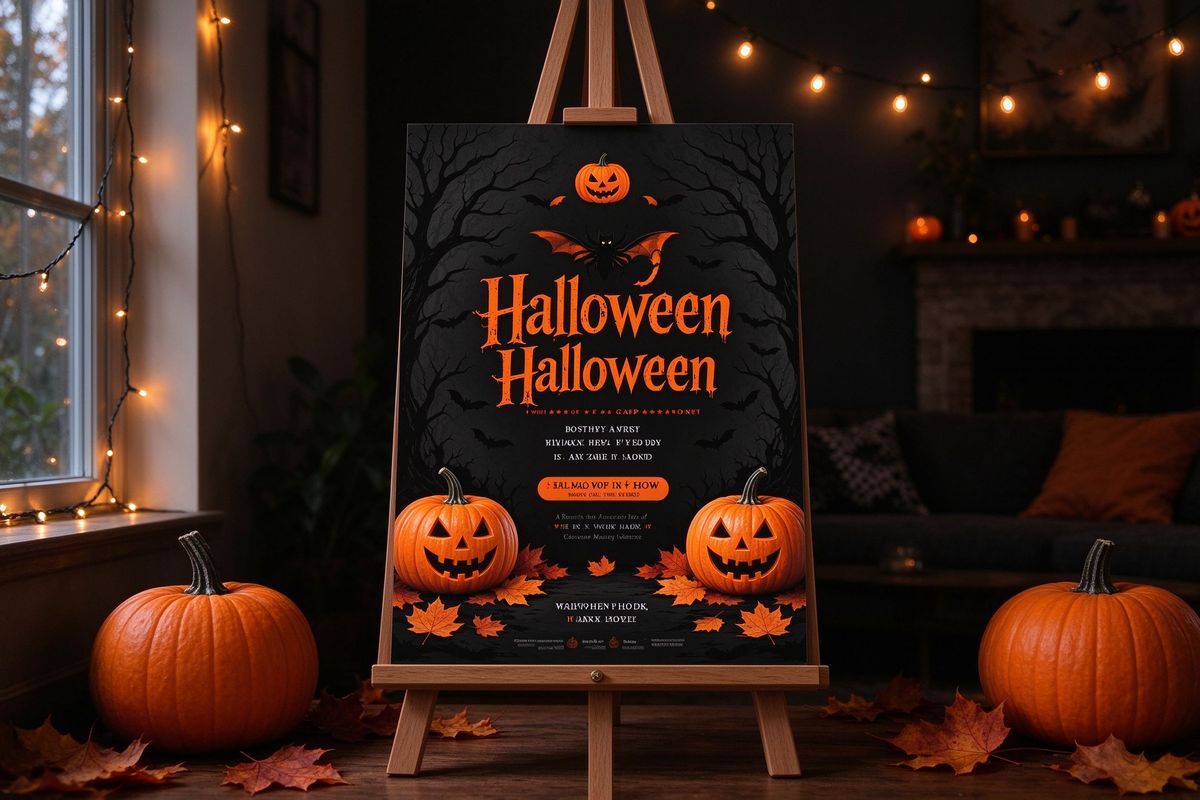
A Halloween poster has one job: stop people mid-scroll (or mid-walk) and make them read the next line. Most party posters fail at that job not because the party is boring, but because the design is. This guide gives you the design rules that professional poster makers use — and shows you how to apply them with our free poster generator in under five minutes.
1. The one-idea rule
A poster is not a flyer. A flyer lists information; a poster sells one idea. Before you design anything, decide the single thing people must remember — usually the event name or the headline phrase. Everything else on the poster supports that one idea. "BOO BASH" with a giant pumpkin does more than "Join us for our annual Halloween celebration at the community center on Saturday, October 31st from 7 to 11 PM" ever will.
- Pick one headline. Short, punchy, all-caps: "BOO BASH," "NIGHT MARKET," "TRICK OR TREAT," "SCREAM FEST."
- Let the headline be the biggest thing on the page. If the date is bigger than the title, your poster is a schedule.
- Delete everything that isn't necessary. Then delete once more. The details that survive: date, time, place, price/entry, one contact.
2. Contrast: the amateur/pro divide
The fastest way to make a poster look professional is brutal contrast:
- One light thing, one dark thing. A near-black background with a bright orange title reads instantly. A medium-gray background with a medium-purple title reads nothing.
- Make the headline 3–5× the body text. Not 1.5×. 3× minimum. The size difference itself is the design.
- Use our palette generator (open it here) for contrast-safe combos — the themes are tuned so the accent always pops on the base.
3. Typography hierarchy
Three levels, never more:
- Level 1 — The scream: one display font (gothic, blood drip or creepy — see our fonts guide), big, one line.
- Level 2 — The details: a clean sans-serif (Poppins), medium size, grouped together: date · time · place.
- Level 3 — The fine print: entry details, contact, age note. Small but legible.
Rule of thumb: if a viewer reads only Level 1, they still know the vibe. If they read Level 1 and 2, they know everything they need. Level 3 is for the committed.
4. Layout: where things go
- Title top, details bottom. Eyes read top to bottom; don't bury the headline.
- Center or left-align — pick one. Centered titles feel classic and formal; left-aligned feel modern and clean. Don't mix.
- Group the details. "OCT 31 · 7–11 PM · OLD MILL PARK" as one line beats three scattered lines.
- Give it air. Margins and whitespace are not wasted space; they're what makes the title feel big. A poster crammed edge-to-edge looks like a ransom note.
- One focal image. A single strong illustration (pumpkin, bat, skull, haunted house) beats five clip-art decorations.
5. Print sizes that actually matter
Print size changes how you design:
| Size | Use | Design tip |
|---|---|---|
| Letter / A4 (8.5×11) | Flyers, social print, classroom | Big title, 3 details max |
| Tabloid (11×17) | Bulletin boards, store windows | Readable from 2 m; test at arm's length |
| A2 / A3 (16.5×23.4 / 11.7×16.5) | Event posters, street posts | Readable from 3–5 m; huge contrast |
Our poster generator supports all of these at 150 DPI — that's print-quality resolution, not screen resolution. It also previews the exact print size so you can judge the headline at real scale.
6. The poster generator workflow
- Pick a layout: Party, Event, Promo or Minimal. Party has the classic big-title structure; Minimal is for elegant modern events.
- Pick a theme: six coordinated palettes (classic, gothic, blood, toxic, midnight, candy) — every element updates at once.
- Type the headline — keep it short (the generator shows a character counter).
- Add the details line — date, time, place.
- Export PNG for sharing and social, or Print for paper. Choose the paper size first so the preview matches the output.
7. Common mistakes (and the fixes)
- "Too much text." → Move details to the back of the card or to the event page; the poster keeps the headline + one line.
- "The colors clash." → Use a generated palette and stop at three colors.
- "The font looks wrong." → One display font only; make it huge; pair with Poppins. Re-read our fonts guide.
- "It looks blurry when printed." → Print from the generator at the selected size (150 DPI), not by resizing a screen PNG.
- "The poster disappears on a busy wall." → A dark solid background beats a busy one. Add a white border around the poster for instant separation.
8. The social version
Most posters are also posted to Instagram and Facebook. The same design works: export the PNG at 1080×1350 (4:5 — our generator's default export is ideal) and add your event link in the caption. Keep the headline readable at thumbnail size — that's the test. If you can't read "BOO BASH" at 100 pixels wide, make it bigger.
Ready to design? Open the poster generator, pick a layout and theme, type your headline, and export. Then pair it with matching invitations so the whole event looks like one brand — that's the detail people remember.